3 minutes
Adding text to an image using OpenCV and Python
In a series of upcoming blog posts, I will be using OpenCV to manipulate images. In this post, I will be adding text to an image (below), I took of a Dervish monastery at the beautiful village of Blagaj in Bosnia.
| Resized Original | Resized Original w/ text |
|---|---|
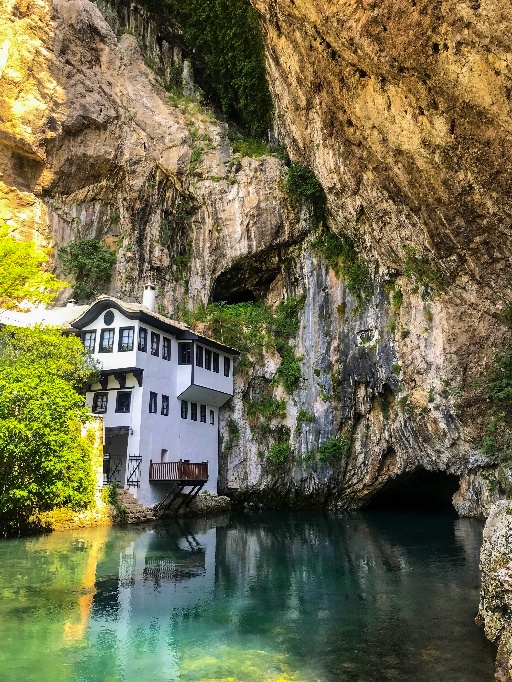 |
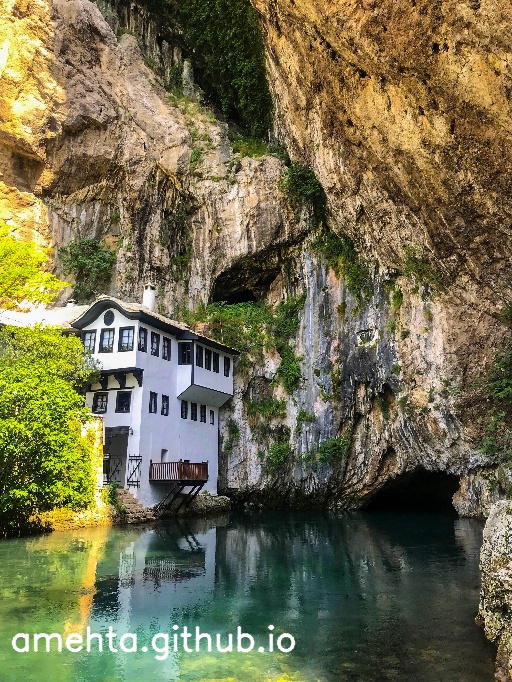 |
Lets get started.
- Read Image
- Resize Image by aspect ratio
- Add text to resized image
- Save resized image with text
1. cv2.imread() - Read an Image
The function cv2.imread() takes a path to the image file and reads it into a variable for further computations. You can use cv2.imshow() to display the image. However, the execution would be so fast,
that you won’t be able to see the picture loaded. Hence, you would want to pause the program while it’s displaying the image using cv2.waitKey().
import cv2

image = 'blagaj_original.jpg'
img =  cv2.imread(image)

cv2.imshow("Original", img)
cv2.waitKey(0)
2. cv2.resize() - Resize an Image by aspect ratio
Sometimes, the images are too big and would like to resize them. There is a handy function
to help you do the same cv2.resize().
The function takes the loaded image along with a tuple that represents the new desired dimensions of the image.
new_dimension = (100, 100)
img_resized = cv2.resize(img, new_dimension)
The above code snippet does it’s job, but the primary issue you will notice is that the image might get distorted if it’s not a perfect square image of equal width and height. To overcome it, we can calculate the aspect ratio of the original image and scale it down accordingly.
height, width, depth = img.shape
desired_height = 512
aspect_ratio = desired_height/width
dimension = (desired_height, height*aspect_ratio)
img_resized = cv2.resize(img, dimension)
3. cv2.putText() - Add text to resized image
Now, lets get to the meat of the post - adding text to the image. This can again be simply added using the function cv2.putText()
It takes in parameters for the positioning and customization of the text (font, format, color, size) in the image.
BLACK = (255,255,255)
font = cv2.FONT_HERSHEY_SIMPLEX
font_size = 1.1
font_color = BLACK
font_thickness = 2
text = 'amehta.github.io'
x,y = 10,650
img_text = cv2.putText(img_resized, text, (x,y), font, font_size, font_color, font_thickness, cv2.LINE_AA)
4. cv2.imwrite() - Save resized image with text
Lastly, we would like to save the modified image to a file for sharing. The function cv2.imwrite() takes care of it.
cv2.imwrite('blagaj_resized_text.jpg',img_text)
Full program listing
Here is the full program listing
import cv2

image = 'blagaj_original.jpg'
img =  cv2.imread(image)

height, width, depth = img.shape
desired_height = 512
aspect_ratio = desired_height/width
dimension = (desired_height, int(height*aspect_ratio) )
img_resized = cv2.resize(img, dimension)

BLACK = (255,255,255)
font = cv2.FONT_HERSHEY_SIMPLEX
font_size = 1.1
font_color = BLACK
font_thickness = 2
text = 'amehta.github.io'
x,y = 10,650
img_text = cv2.putText(img_resized, text, (x,y), font, font_size, font_color, font_thickness, cv2.LINE_AA)

cv2.imshow("Resized", img_text)
cv2.waitKey(0)

cv2.imwrite('blagaj_resized_text.jpg',img_text)
Stay tuned for more posts on OpenCV.