2 minutes
Create and apply simple filters to an image using OpenCV and Python
In this blog post, I will show you how we can enhance our images using colored filters and add border backgrounds.
| Original | Original w/ color filter | Original w/ color border |
|---|---|---|
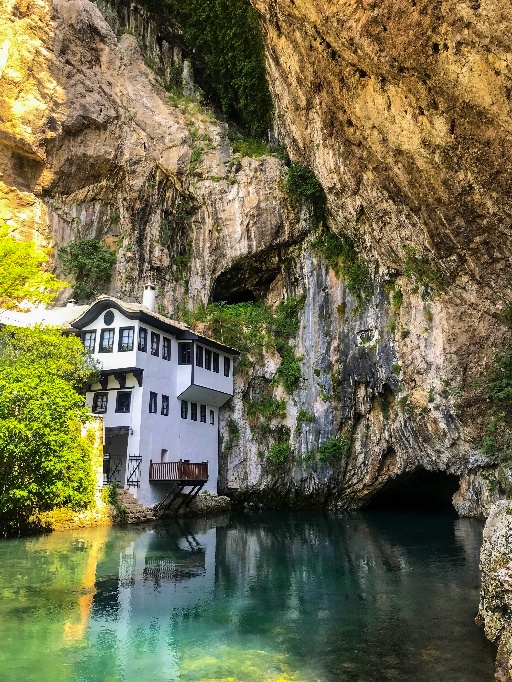 |
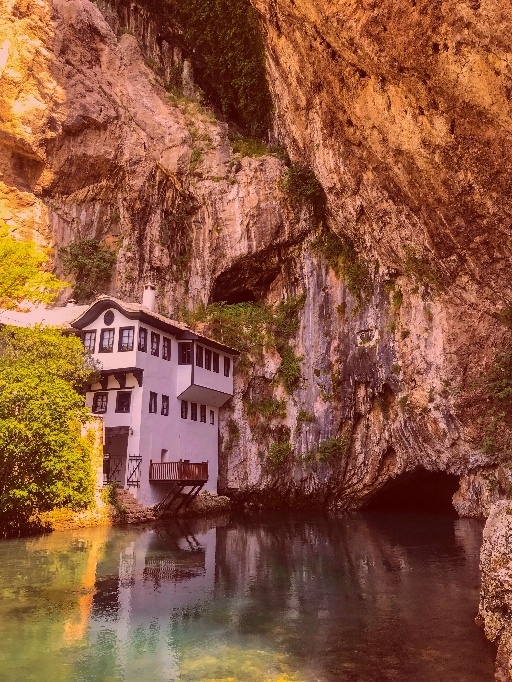 |
 |
Let’s get started.
1. Simple color filter
Lets start with first creating a color filter - an image with just a single color. This is as simple as creating a 3-D array and filling each pixel with the same value. In the code below I create an array of the same size (682,512,3) as that of the target image and fill each pixel with the color red (0,0,255).
red_img = np.full((682,512,3), (0,0,255), np.uint8)
Next, we read the target image using cv2.imread() and add the color filter (created above) to the image. This can be done using the function cv2.add()
image = 'blagaj_resized.jpg'
target_img = cv2.imread(image)
fused_img  = cv2.add(target_img,red_img)
The problem with the above approach is that it does a simple addition. Imagine looking at a picture through a red colored paper, and mostl likely you won’t see anything. Instead we are trying to create a a colored glass and look at the picture through it. This transluceny can be achieved by using a different function cv2.addWeighted()
fused_img = cv2.addWeighted(target_img, 0.8, red_img, 0.2, 0)
In the code above, we add the target image and the colored image in the ratio 8:2 to get the effect as seen above. Feel free to play with other weights and colors.
Full program listing
Here is the full program listing
import cv2
import numpy as np

# read the target file
image = 'blagaj_resized.jpg'
target_img = cv2.imread(image)

# create an image with a single color (here: red)
red_img  = np.full((682,512,3), (0,0,255), np.uint8)

# add the filter  with a weight factor of 20% to the target image
fused_img  = cv2.addWeighted(target_img, 0.8, red_img, 0.2, 0)

cv2.imshow("Red Filter", fused_img)
cv2.waitKey(0)

cv2.imwrite('blagaj_red_filter.jpg', fused_img)
2. Simple color border
This is an even simpler task than the one we just performed. All we need to do is pass the color and the dimensions of the needed border to the target image using v2.copyMakeBorder()
BLACK = [0,0,0]
black_border_img = cv2.copyMakeBorder(target_img, 20,20,20,20, cv2.BORDER_CONSTANT, value=BLACK)
Full program listing
Here is the full program listing
import cv2
import numpy as np

# read the target file
image = 'blagaj_resized.jpg'
target_img = cv2.imread(image)

# create a border of a specfic color (here: black) and apply to image
BLACK = [0,0,0]
black_border_img = cv2.copyMakeBorder(target_img, 20,20,20,20, cv2.BORDER_CONSTANT, value=BLACK)

cv2.imshow("BORDER_CONSTANT", black_border_img)
cv2.waitKey(0)

cv2.imwrite('blagaj_red_filter.jpg', black_border_img)
Stay tuned for more posts on OpenCV.